Hello, lovely folks! It's Tracy here, the creator and formulator of all things natural and mellow at hellomellow. With summer in full swing and our neighborhood organic farm delivering fresh produce, I find myself inspired to dive into some home DIY projects. Today, I’m excited to share one of my favorite DIY recipes that not only saves money but also enhances the flavors in both your kitchen and skincare routines—homemade vanilla extract!
Why Homemade Vanilla Extract?
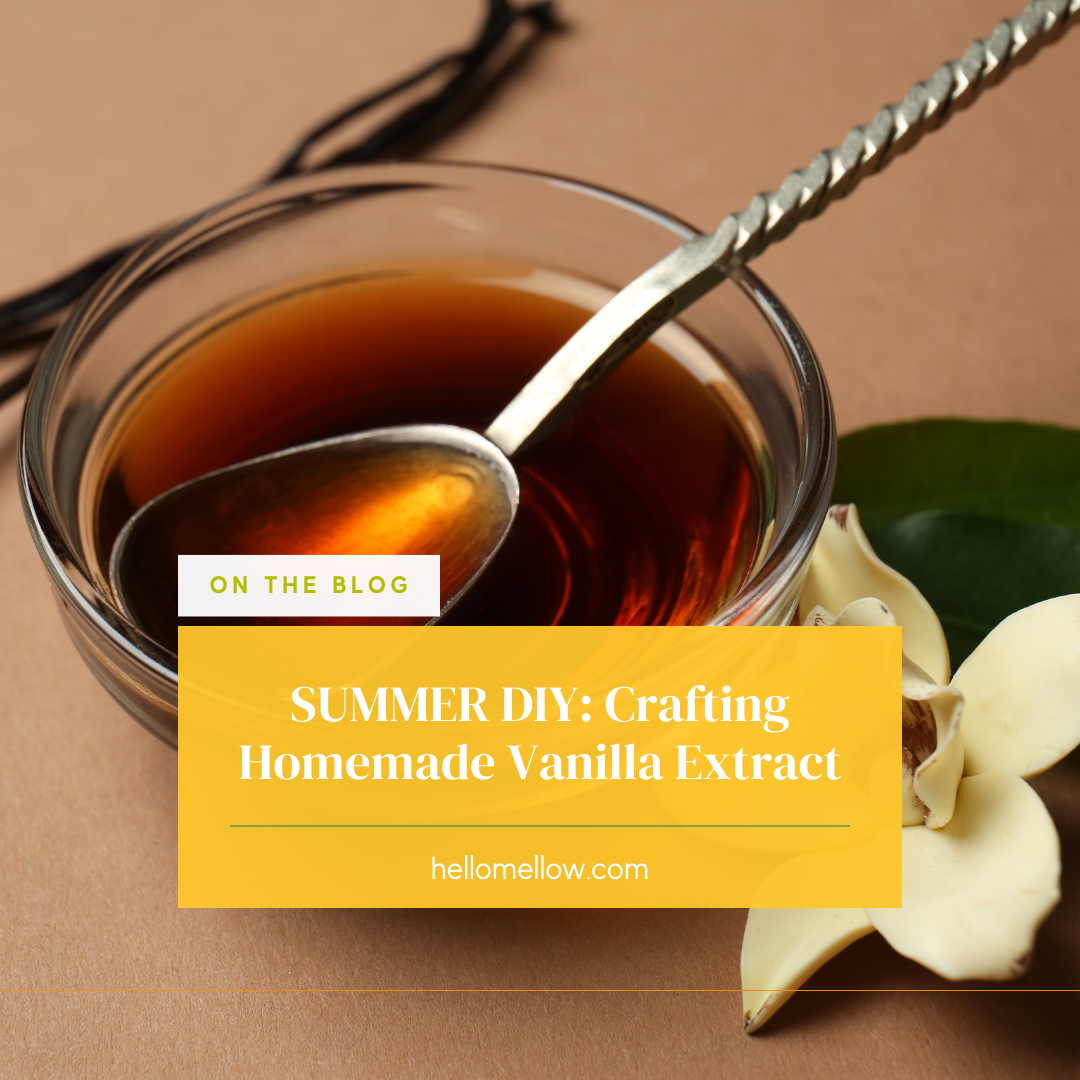
Let’s be honest, good quality vanilla extract can be quite pricey and not always readily available. But with just two simple ingredients and a bit of patience, you can create a vanilla extract that rivals the best on the market. This is a perfect project for anyone looking to try something new and make products that are pure and fresh for you and your loved ones.
What You'll Need
- Vanilla Beans: I recommend Madagascar Vanilla Beans for a creamy flavor, Mexican for a smoky touch, or Tahitian for a floral hint.
- Vodka: Opt for a plain, high-quality vodka to avoid competing flavors.
- Glass Jars: Use 8 oz jars for small batches or 32 oz jars if you’re like me and love making in bulk!
The Process
- Prepare Your Vanilla Beans: Using a sharp knife, slit the beans lengthwise to expose the seeds inside. If they’re too long for your jar, simply cut them into smaller pieces.
- Submerge in Vodka: Place the vanilla beans in your jar and pour vodka over them until fully submerged. A little extra vodka goes a long way to ensure they are covered!
- Store and Wait: Place your jar in a cool, dark place and give it a shake once a week. While you can start using the vanilla extract as early as 8 weeks, I recommend waiting at least 6 months. If you can hold out for 12 months, the flavor and color will be incredible!
Continuous Vanilla Joy
As you begin to use your vanilla, you can refill with a little vodka each time. Give it a shake after you refill and before each use, too. If you’re gifting the vanilla or if you don’t have any more alcohol to refill, remove the beans completely after first use. The beans will become a little slimy if they aren’t almost fully submerged.
Unused aged vanilla extract (with the beans fully submerged) will last several years. If it still smells good, it’s still good to use! Aged extract without the beans will last indefinitely. Once you begin using the vanilla and adding more alcohol after each use, the beans will eventually need to be replaced. It’s hard to give a specific amount of time as some may use (and refill) the vanilla more quickly than others. After about 1 year of frequent use and refilling, you will find the vanilla flavor less intense. Simply remove old beans, add fresh beans, shake, and continue to use/refill.
Alcohol Tip: If baking gluten-free, use certified gluten-free alcohol. Avoid flavored vodkas as they often contain artificial flavors, which negates the purpose of making your own pure vanilla.
Tips for the Best Results
- Light and Air: Keep your vanilla extract out of direct sunlight and try to limit air exposure by keeping the jar sealed tight.
- Patience is Key: The longer your vanilla infuses, the better it will taste, so try to resist the urge to use it too early!
Wrapping It Up
Homemade vanilla extract is not just a kitchen staple—it’s a journey and a joy. It’s about embracing the slow, delightful process of transformation that comes with natural ingredients. So, why not start a batch today and see how easy and satisfying DIY can be? Plus, it’s a beautiful way to bring a piece of summer into your home year-round.


